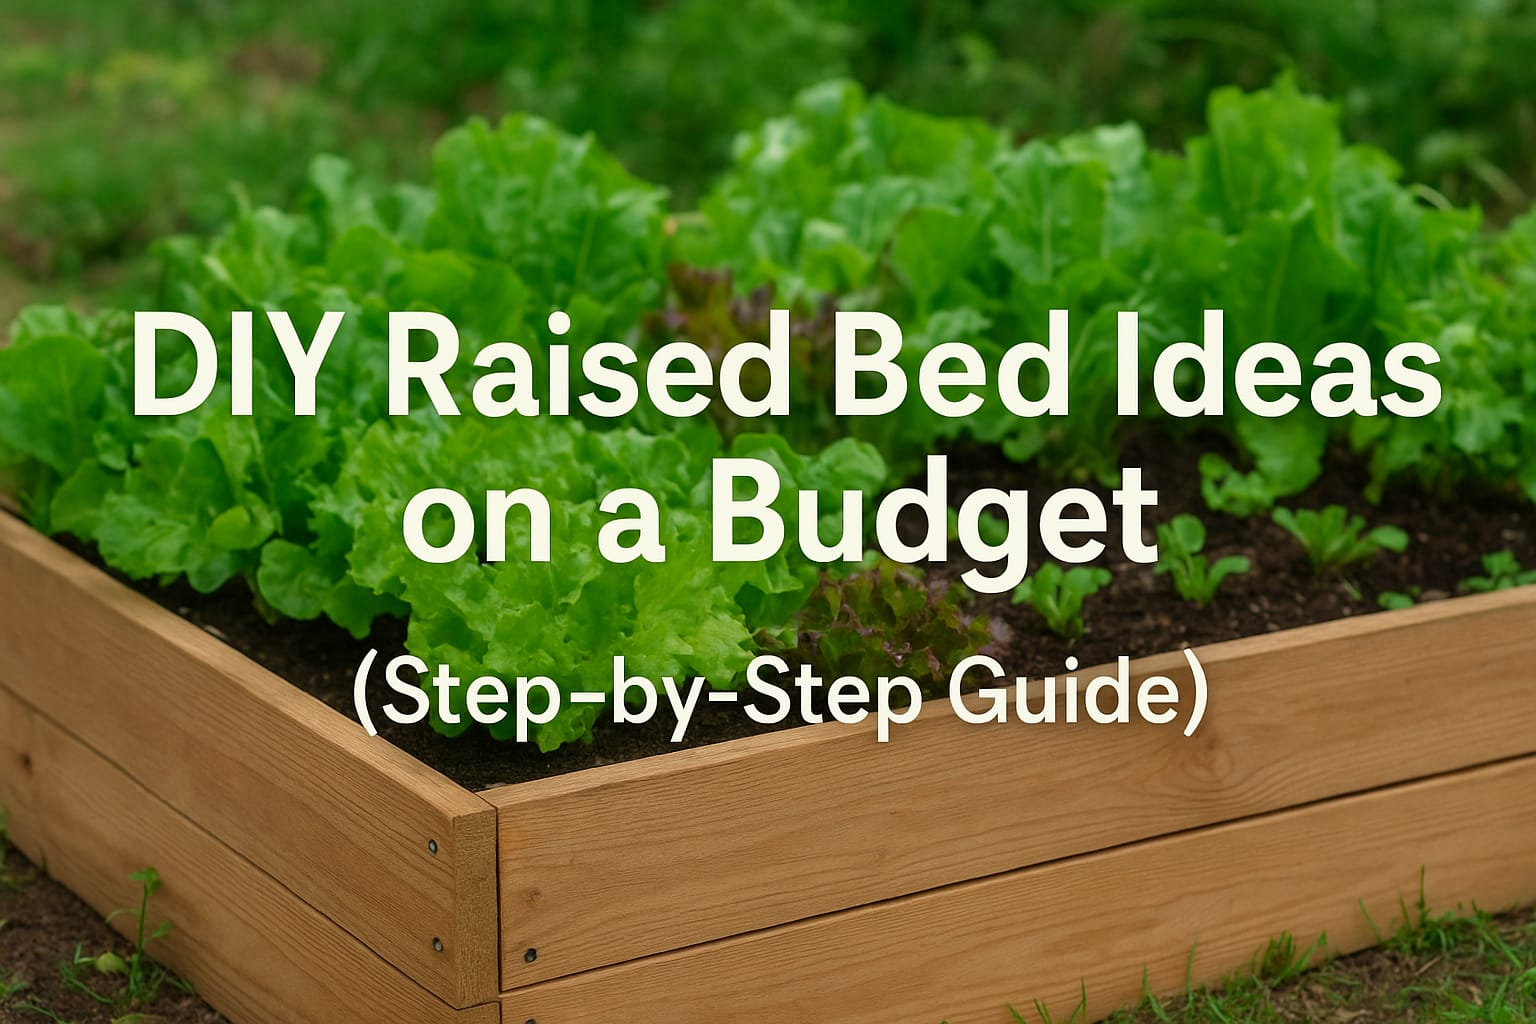
Creating your own raised bed doesn’t have to drain your wallet—or your weekend. Whether you’re short on space or trying to stretch your gardening budget, this step-by-step guide will help you build a sturdy, productive raised bed that looks great and grows even better. With a few affordable materials, you can set up a growing space that supports everything from tomatoes and lettuce to herbs and flowers.
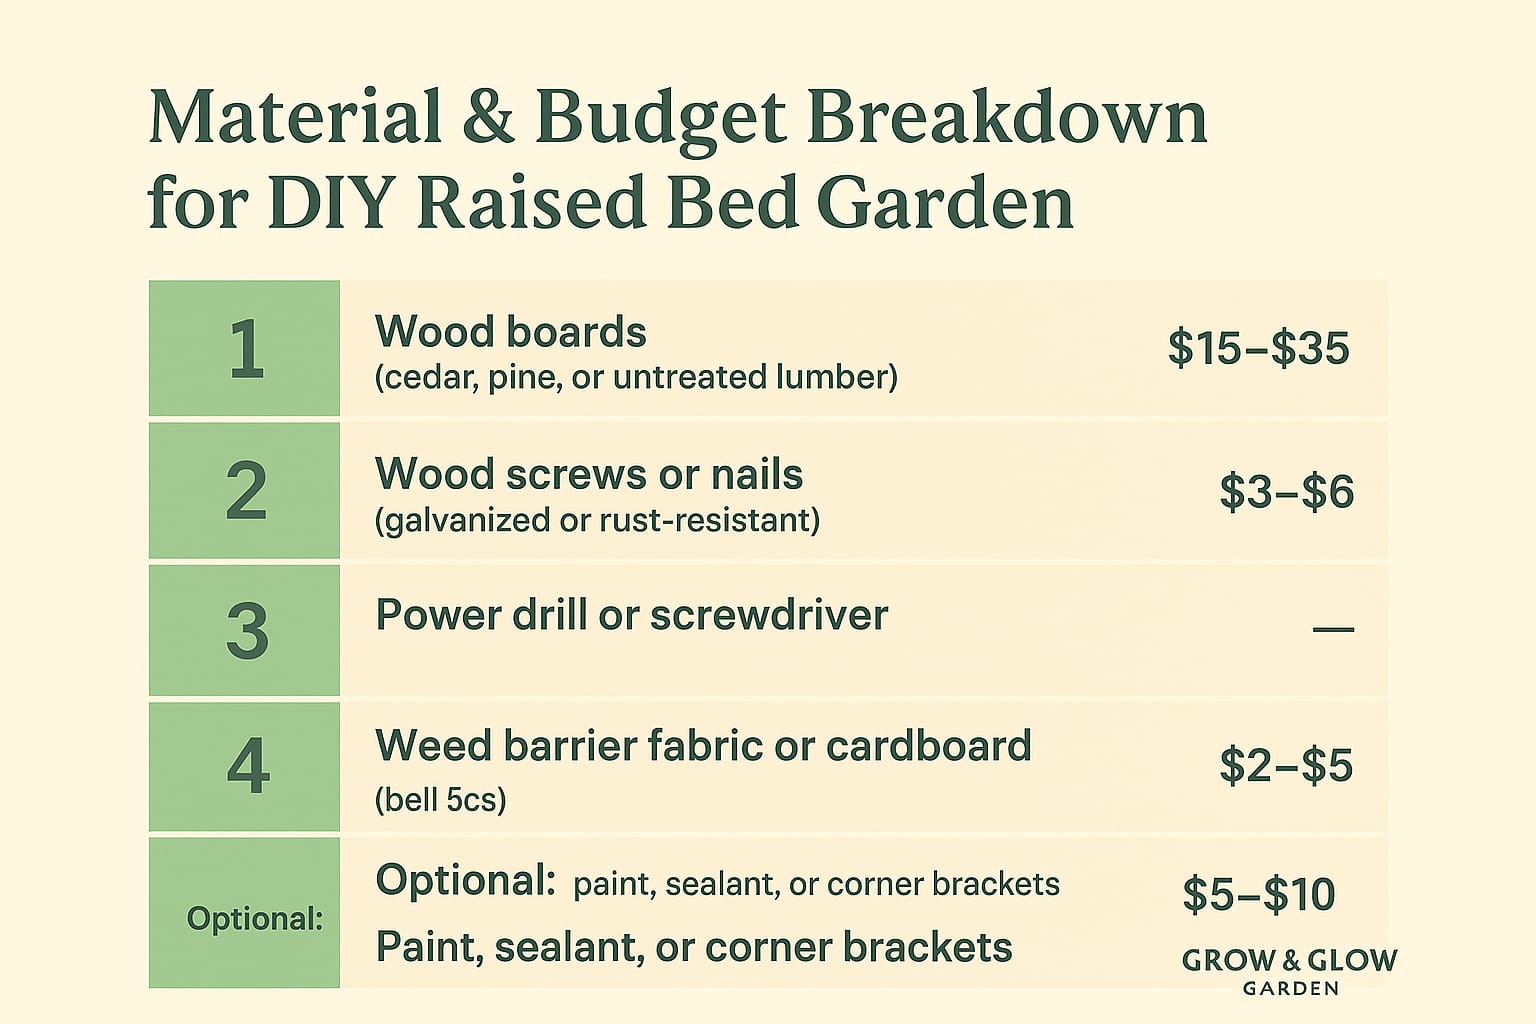
🧰 Materials You’ll Need (Estimated Budget: $25–$60)
Here’s what you’ll need to get started. Prices may vary depending on where you shop, but all items are affordable and widely available:
💡 Grow & Glow Tip: If lumber prices are high, check local hardware stores for scrap wood or ask nearby construction sites for leftover boards—they often give them away free.
🪴 Step-by-Step Building Guide
Step 1: Choose the Right Spot
Select a sunny location with at least 6–8 hours of sunlight per day. Make sure the area is level and has good drainage. If you’re setting up on concrete or a patio, place the bed where excess water can drain freely.
Grow & Glow Tip #1: Avoid building too close to trees—their roots will compete with your vegetables for nutrients.
Step 2: Plan Your Dimensions
A simple starter size is 4 feet wide x 8 feet long x 12 inches high. This size provides enough depth for root crops and makes it easy to reach the center from any side. Use a tape measure and mark your dimensions on the ground.
Step 3: Cut and Prepare the Wood
Cut your boards to your desired length. Sand any rough edges to prevent splinters. If you plan to paint or seal the wood, now’s the time—choose a non-toxic sealant safe for gardens.
Budget Tip: Pine is inexpensive and works well if you seal it properly; cedar costs more but naturally resists rot.
Step 4: Assemble the Frame
Use wood screws or nails to join the boards together into a rectangle. Attach corner brackets for added stability if desired. Ensure the corners are square using a carpenter’s square or by measuring diagonally.
Step 5: Prepare the Ground
Remove weeds and grass from your chosen spot. Lay a weed barrier fabric or cardboard across the bottom. This prevents weeds from growing up into your bed and improves drainage.
Grow & Glow Tip #2: If using cardboard, wet it slightly—it will stay in place and decompose naturally over time.
Step 6: Fill Your Raised Bed
For the best results, mix equal parts topsoil, compost, and perlite or coarse sand. This blend ensures good drainage, fertility, and aeration. You can also layer materials for a lasagna-style bed—start with sticks or straw at the bottom, then compost, and finally soil.
Step 7: Plant and Water
Now comes the fun part! Choose vegetables suited to raised bed growing—lettuce, peppers, cucumbers, and herbs thrive in this setup. Water thoroughly after planting to settle the soil.
Grow & Glow Tip #3: Add a 2–3 inch layer of mulch to conserve moisture and reduce weeds.
💡 Budget-Friendly Raised Bed Alternatives
If building from lumber isn’t an option, here are creative alternatives that cost little to nothing:
- Old pallets: Reuse untreated wooden pallets to build rustic garden boxes.
- Plastic storage bins: Drill drainage holes and fill them with soil—perfect for balconies.
- Cinder blocks: Stack them into a rectangle; the hollow centers can hold herbs or flowers.
- Recycled barrels or totes: Cut in half lengthwise to create deep containers for root crops.
- Woven garden baskets: Stylish and ideal for herbs or shallow-root vegetables.
Grow & Glow Idea: Mix and match! Use a wooden bed for main crops and recycled bins for companion herbs—it’s functional and visually appealing.
We germinate seedling like: Bell pepper, callaloo etc. in large egg tray that the large clear plastic egg tray that most of us brought at the grocery store use the egg and tossed those empty tray away while you could use them to germinate seedling then transplant them out into the garden bed when they reach plating stage. It all about making use of what you got
🌻 Final Thoughts
You don’t need expensive garden kits to grow your dream harvest. With a few budget-friendly materials and a little DIY effort, you can create a raised bed that will serve you season after season. The beauty of this project is not just in what you grow—but in building it yourself.
So, grab your tools, get creative, and let your raised bed garden Grow & Glow this season!